Some of us learned early and others picked it up later – tying our shoe laces. It may just be a normal part of everyday life, but when it comes to specialist footwear like hiking boots, we still need to make sure we use the right lacing technique. New hiking boots in particular can often be very hard and stiff because they haven’t molded to your feet yet. If you get the lacing wrong right at the beginning, you will quickly end up with that familiar chafing on your heels, making your hiking trip a rather painful experience. Read on to for tips on what to look for in a pair of hiking boots and to find out which lacing techniques are best for avoiding blisters and sore pressure marks.
How do you make sure your hiking boots fit properly?
It’s best to get your foot right down into the boot. To do this, tap your unlaced hiking boot on the ground with your heel pointing diagonally backward so that your heel is in the best possible position and your toes have enough room. Many people forget to make sure the tongue is in the right position. It is important that it is centered and cannot slip. If the tongue slips while you are hiking, it can lead to painful pressure marks, which is something we want to avoid as far as possible ? How tight-fitting your hiking boots should be depends entirely on your feet and on the conditions on your hiking route. The key to avoiding blisters is to make sure your hiking boots are not too tight, but not too loose either.
Hiking boots and laces
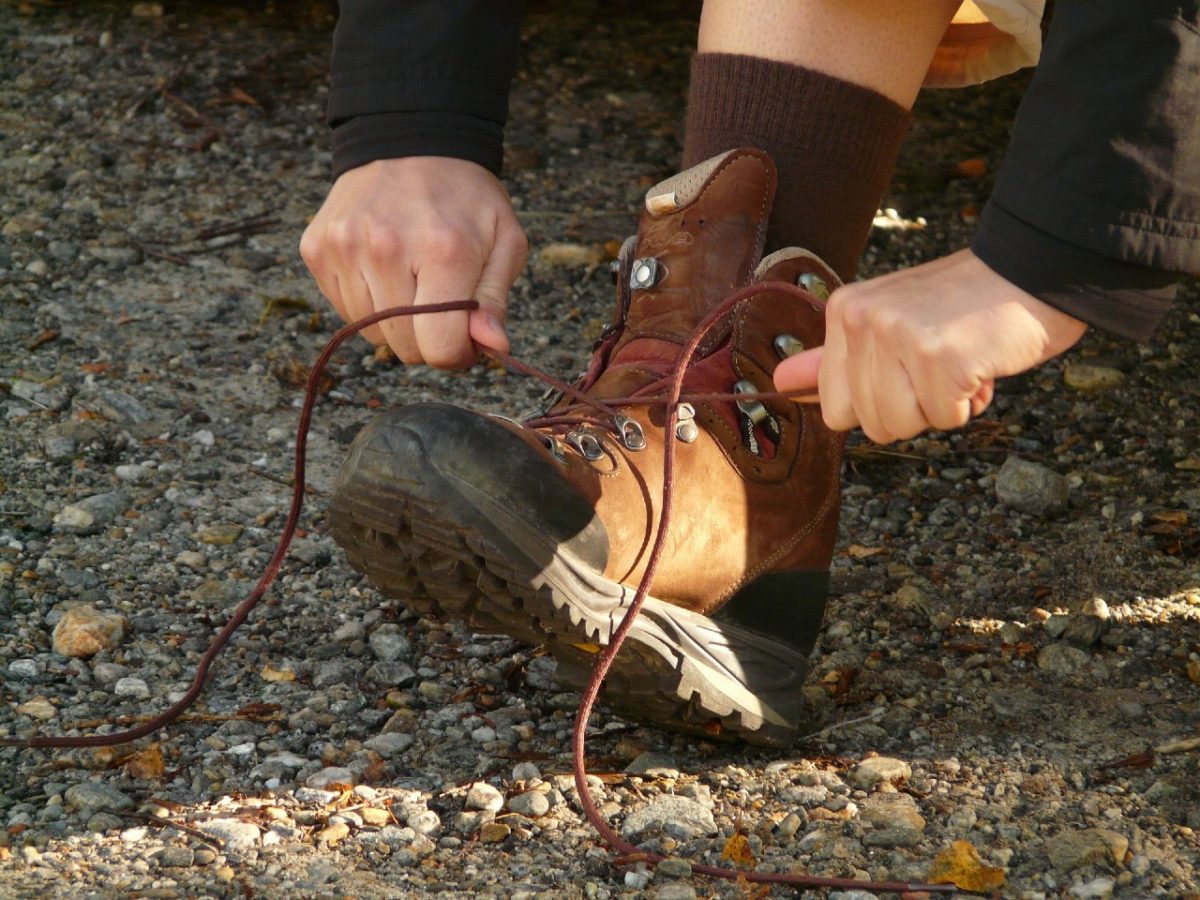
As a general rule, hiking boots can always be laced crosswise, pulling from bottom to top. As we’ve already explained, it is vital that the tongue is positioned centrally. Hiking boots are then often tied with a bow or double bow. However, there are a few disadvantages to this lacing method, which can lead to blisters developing because there is either too little or too much tension on the shaft and the heel also tends to rub inside the boot. Since hiking boots are usually equipped with a total of six pairs of lacing hooks and one pair of locking hooks, allowing you to control the pressure of the lacing, it is a good idea to use different lacing techniques for different foot shapes and hiking trails. We show you which techniques are best below.

Two-zone lacing
This lacing method divides the hiking boot into two zones to allow the tension in the shaft of the boot to be adjusted so you can cope better with different elevations. First, lace the boots crosswise and then thread the laces from bottom to top via the so-called locking hooks. Then cross the laces over at the height of the instep and continue lacing toward the shaft. Zone 1 (lower part of the shoe) can be laced more tightly when hiking uphill, for example, so that it sits more loosely around the leg. If you are doing more downhill walking, zone 2 (the top half of the boot) can be laced more tightly to prevent the foot from slipping and therefore avoid blisters and chafing.
The heel lock technique
As we’ve already mentioned, it is extremely important to make sure your heel is positioned correctly in your hiking boot. We are all familiar with the problem of your heel moving up and down as you walk. To solve this problem, many hikers use what is known as the heel lock technique. To do this, cross the laces twice and then thread them in parallel through the two hooks in the center to form a square. Then continue to lace from bottom to top using the locking hooks as usual. If you then adjust the laces during your hike, the heel lock technique will ensure your foot is pushed deeper into the hiking boot, so your heel won’t rub and develop blisters.
Parallel lacing
This lacing technique is often used if you are prone to painful pressure spots on your central instep, giving you problems with pressure on the middle lacing hooks. For best results, the laces should be threaded with less crossover in this technique, i.e. with a little distance between the laces. The lacing looks slightly odd, but it creates the necessary space for your instep while still giving your foot plenty of support.
Even when you’ve cleared the first ‘hurdle’ of tying your shoes, you still need to make sure you re-lace your hiking boots after you’ve been walking for about 15-30 minutes. If your boots expand due to heat, the laces and tongue can become loose and cause blisters.
Still feeling pressure on your forefoot and the back of your foot? These tips will help!
If your hiking boots still pinch in spite of all your efforts and despite a good lacing technique, there are other tricks that can help eliminate chafing and so prevent blisters.
- Wear the right socks: Your kit should include suitable socks, such as functional socks. Functional socks provide additional support for walking in hiking boots and feature extra padding in the most vulnerable areas. This can improve the distribution of pressure in your boots.
- Give your feet some regular TLC: Always make sure that you treat corns, for example, and look after your feet. The fewer spots there are on your feet that are vulnerable to blisters, the less pressure there will be inside your boots.
- Prevent blisters effectively: pjuractive 2SKIN Anti-Chafing Gel is an effective way to prevent blisters from forming. Simply apply a thin layer to your feet and you’re done. ? An invisible, extra-strong, breathable protective film then forms, which is resistant to water and sweat and is ultra-long lasting. This protective film puts a stop to chafing and prevents blisters from forming in the first place.
If you’re interested in reading more on the subject of hiking, take a look at these other posts from our blog ?
https://pjuractive.com/au/blog/hiking-for-beginners-what-to-keep-in-mind/
https://pjuractive.com/au/blog/essential-kit-for-your-hike/
https://pjuractive.com/au/blog/finding-the-right-hiking-backpack-what-to-look-for/